DIY Paper Flowers: A Step-by-Step Guide
Introduction
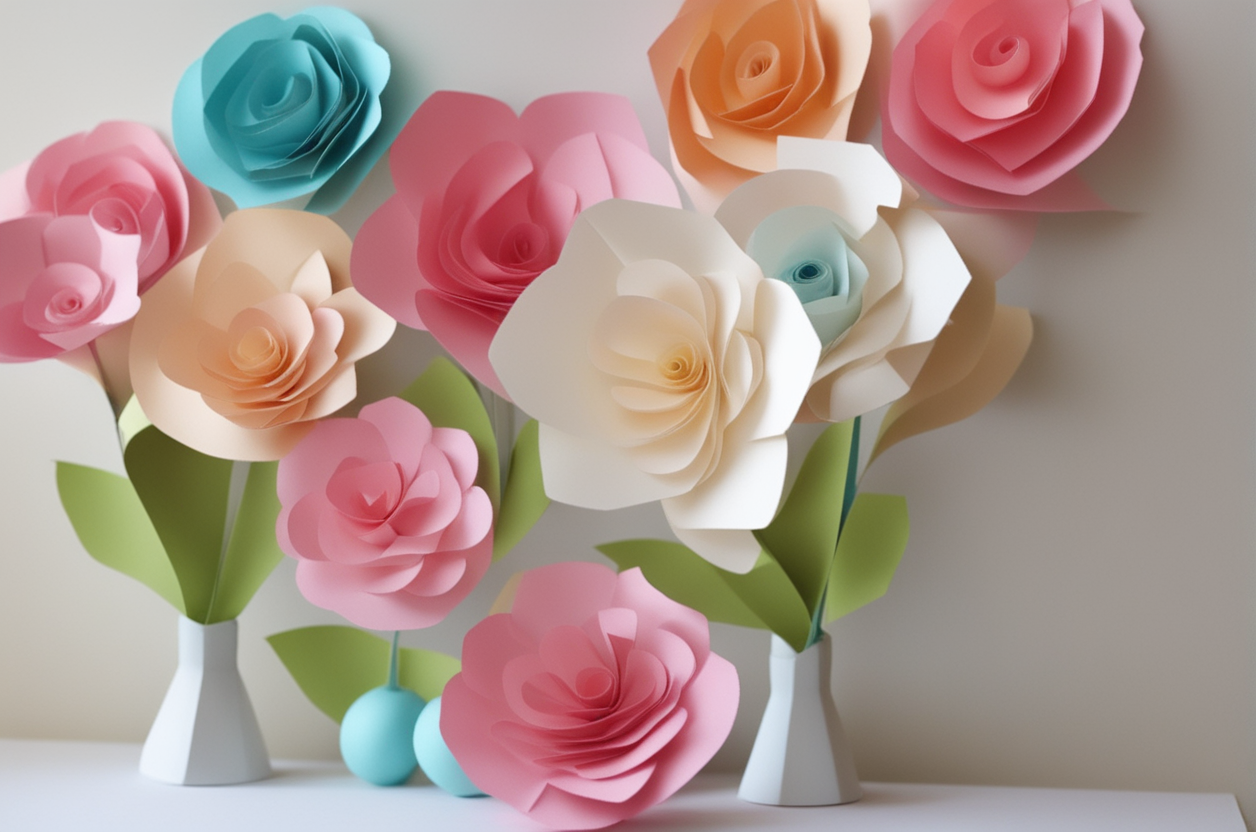
If you're looking for a fun and creative project that doesn't require any special skills or tools, consider making your own paper flowers! In this step-by-step guide, we'll show you how to create beautiful handmade blooms that can be used as decorations, gifts, or even centerpieces.
Materials Needed
- Scissors
- Glue stick
- Cardstock paper
- Pencil
- Ruler
Instructions
- Start by drawing a petal shape onto your cardstock paper. The size and shape of the petal will depend on the type of flower you want to make. For example, if you're making a rose, you might draw a heart-shaped petal, while if you're making a daisy, you might draw a circular petal.
- Cut out the petal shape using scissors.
- Repeat steps 1 and 2 until you have enough petals for your desired number of flowers.
- Using a glue stick, attach one end of each petal to the base of your flower, overlapping them slightly to form a ring.
- Continue attaching petals around the base of your flower, working your way up to the top.
- Once you reach the top, add a small circle of cardstock paper to the middle of your flower to create a stamen, or pollen-producing structure.
- Finally, use a pencil to draw a stem for your flower, and attach it to the bottom of your flower using more glue.


Comments
Post a Comment